
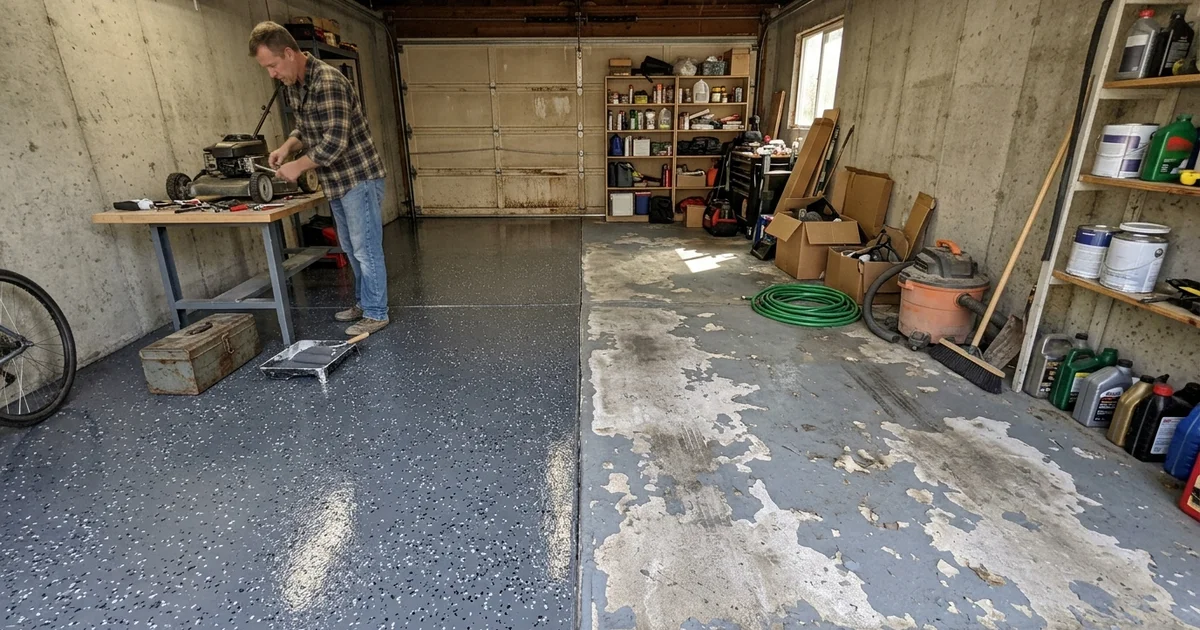
Our team at Spring Hill Epoxy knows exactly how frustrating it is to watch a weekend upgrade peel away a year later. The debate of epoxy flooring vs concrete paint is usually at the center of this frustrating cycle. These failed floors almost always trace back to a misunderstanding of the actual products used.
We are going to break down the chemistry behind floor coatings to clarify this issue.
Looking at the data shows exactly why proper preparation matters. A clear strategy makes the difference between a temporary patch and a permanent solution.
Two Products That Look the Same in the Aisle: Epoxy Flooring vs Concrete Paint
We always explain that the main difference between store-bought concrete paint and professional epoxy is the final cured thickness. Concrete paint shrinks drastically as it dries, while 100% solids epoxy vs paint comparisons show the epoxy cures completely at its full applied depth. Stand in a hardware store, and the comparison looks simple.
Our clients often ask why one bucket costs a few hundred dollars while a proper system costs much more. The difference is strictly chemistry. Most DIY kits and standard paints use a water-based or solvent-based carrier.
Our lab data proves that homeowners do not realize a large share of what they roll on simply evaporates. A fresh coat goes on looking substantial but ends up forming a brittle film that is only 1.5 to 2 mils thick. This thin layer cannot withstand daily abuse.
Our application of professional garage floor epoxy uses a true 100% solids formulation. Nothing evaporates away during the drying phase. The cured film stays incredibly strong at 10 to 35 mils thick.
Our preferred method highlights two main advantages of this thicker material:
- Maximum impact resistance: It prevents chips from dropped tools.
- Superior chemical blocking: The barrier keeps motor oil from staining.
Our experience shows that thickness alone will not save a floor. The other half of the equation is what the coating is bonded to. Adhesion dictates the lifespan of the entire project.
Adhesion Is the Whole Ballgame
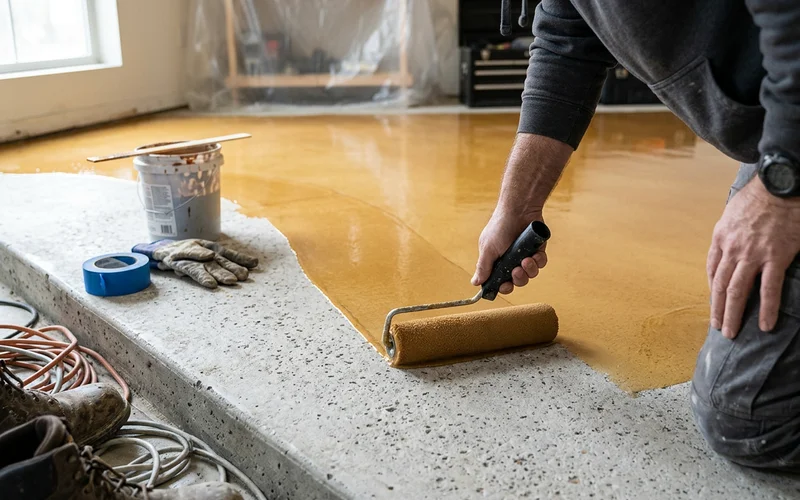
Our preparation process physically opens the concrete to guarantee a permanent bond, whereas DIY kits rely on weak chemical reactions. Proper adhesion requires an aggressive surface profile that allows the resin to lock directly into the slab. Store-bought kits ship with a simple packet of acid etch.
We constantly see floors fail because muriatic acid only produces a Concrete Surface Profile of 1. The International Concrete Repair Institute (ICRI) defines CSP on a scale from 1 to 10. A CSP 1 rating is nearly smooth and totally insufficient for modern resins.
Our crews know that acid etching also leaves behind a dangerous chemical residue. This residue must be rinsed and neutralized perfectly. Homeowners usually do this imperfectly, leaving a chemically contaminated surface that rejects new paint.
Our approach relies entirely on heavy mechanical preparation to achieve the perfect texture:
- Diamond cutting: Planetary grinders cut the top layer off the slab.
- Consistent profiling: The machines leave an open, consistent profile of CSP 2 or 3.
Our industrial resins flow into thousands of these tiny ground anchors. The bond becomes physical rather than dependent on surface chemistry. This diamond grinding step is non-negotiable for longevity.
Our team fully stands by one simple industry rule.
Peeling is a prep failure, not a product failure
Nearly every failed floor we examine failed at the bond line, rather than in the coating itself.
Our technicians notice the resin remains completely intact.
The material simply never had anything to hold onto.
A weak foundation ruins even the most expensive liquids.
The Hot-Tire Test
Our clients quickly learn that hot-tire pickup occurs when a warm vehicle tire literally melts and rips thin paint right off the concrete. A proper garage floor paint vs epoxy evaluation shows that a 100% solids installation cures into a hard, heat-resistant shell. Garages present the harshest test of a coating bond across the entire US.
Our temperature readings show that tires routinely reach 140 degrees Fahrenheit during normal summer driving. The rubber heats up on the drive home, presses firmly against the floor, and contracts as it cools. This cooling process forces the tire to grip whatever it touches like a suction cup.
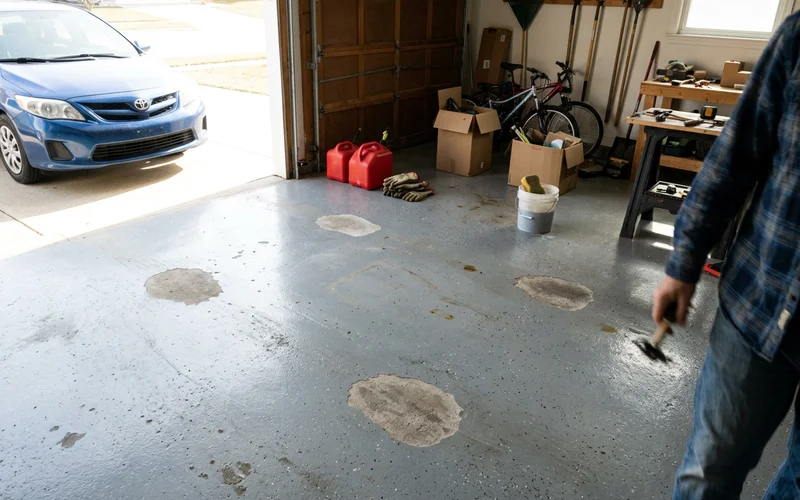
Our repair jobs often start here, because reversing the car the next morning pulls upward on the compromised finish. A thin film over an acid-etched slab loses that contest immediately. The diagnostic sign is bare patches in exactly the shape of the tire contact area.
Our gallery of failed floors shows these marks usually appearing in the first or second summer.
A thick 100% solids base bonded into a ground profile survives this daily stress effortlessly. The entire system gets sealed under a hard topcoat that refuses to lift under intense heat.
Our comparison chart highlights the massive differences between these two approaches:
| Feature | DIY Concrete Paint | Professional 100% Solids Epoxy |
|---|---|---|
| Solids content | Roughly 30-50% | 100% |
| Surface prep | Acid etch (CSP 1) | Diamond grinding (CSP 2-3) |
| Typical garage life | 1-3 years | 15+ years |
| Failure mode | Peeling, hot-tire pickup | Gradual topcoat wear, recoatable |
| Redo cost | Grinding off the old coating first | Recoat only |
This table outlines the stark reality of cheap kits. The initial savings quickly vanish when the surface starts peeling.
Cost Over Time, Not Cost Today
Our team warns homeowners that a cheap DIY kit becomes drastically more expensive once you factor in the high cost of removing a failed application. Spreading a professional installation over a realistic service life proves to be the most financially sound decision. Take a standard 400 to 500 square foot two-car garage.
Our local hardware stores sell kits for about $150 to $300, promising a quick weekend project. If it lasts two summers and then needs stripping, the financial math completely changes. Professional diamond grinding to remove a failed DIY coating costs an average of $1.50 to $3.00 per square foot in the US right now.
Our customers are shocked to learn exactly what this removal penalty entails:
- Equipment mobilization: Contractors must bring in heavy planetary grinders.
- Labor hours: Scraping off glued plastic takes intense physical work.
Our estimates show this step alone adds $600 to $1,500 before the new system even begins. The cheap kit did not save money at all. It merely delayed the inevitable spend.
Our breakdown of what epoxy flooring costs shows exactly where professional pricing comes from. A professional install on that same two-car garage typically runs $1,500 to $3,500 depending on the required concrete repair and final finish. The upfront number covers commercial-grade materials and labor-intensive mechanical preparation.
Our clients find that spreading this investment over fifteen years makes the daily cost drop to pennies. True value lies in a permanent solution that handles daily driving. A heavily used floor requires an investment that respects the physical demands of the space.
What Failure Actually Looks Like
Our diagnostics reveal a predictable four-stage failure sequence for water-based paint kits. Catching this deterioration early can save the slab, while waiting guarantees a total, expensive removal. There is a recognizable timeline to how a weak floor gives up.
Our inspectors look for specific markers at each stage of the breakdown:
- Months one to six: Everything usually looks flawless, glossy, and finished during this honeymoon phase.
- First warm season: Small circular patches appear exactly where the vehicle tires park, showing the material has lifted cleanly rather than worn down.
Our trained eyes know this diagnostic sign is crucial, because true adhesion failure looks completely peeled. First wet winter: Moisture finds the exposed concrete at the edges of those patches and works sideways underneath. The bare areas grow rapidly as the edges start to curl upward and snap off.
Our winter repair calls spike right as these large sheets begin failing. Year two: Entire sections of the coating can literally be pulled up by hand. Applying a new layer over this mess just inherits the exact same peeling problem.
Our only route forward at this late stage is full mechanical removal. Catching the issue at stage two means a contractor might only need to grind a small, isolated area. The crew avoids a massive labor charge.
Our worst-case scenario involves waiting until stage four, requiring us to grind the entire space twice. The floor must be ground once to shear off the failed layer, and a second time to properly profile the concrete underneath. None of this means standard store paint is completely useless.
Our advice is that a rarely used storage shed that just needs dust control is a perfectly reasonable candidate for a basic roll-on product. A garage housing heavy vehicles and seasonal moisture demands the correct chemistry and mechanical preparation from day one. An honest assessment of your specific space will dictate which category your slab falls into.
Our team is always ready to evaluate your unique concrete situation. Making the choice between epoxy flooring vs concrete paint is a crucial decision for any suburban homeowner. Making the right choice now prevents a massive headache next year.
Our free on-site consultations give you the exact data needed to move forward confidently.
Reach out today to schedule your assessment and secure your spot on the calendar. A solid foundation ensures your space looks incredible for decades.